
HDR -- High Dynamic Range -- photos are something entirely new to me. Apparently Photoshop CS2 supports HDR images natively. In this instance, I created HDR iamges by tripoding my camera, taking a number of photos bracketed at 1 or 2 stops per step, then importing the photos into Photoshop, which created the 32 bit file. From there, I downsampled to 16 bit, telling Photoshop to try to preserve detail in both shadows and highlights. A little tweaking in 16 bit, then downsample to 8 bit, then save -- viola!
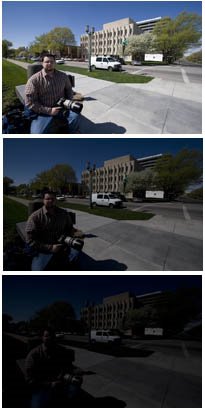
Here's an example. These photos and a few others not pictured(presented here as a collage):

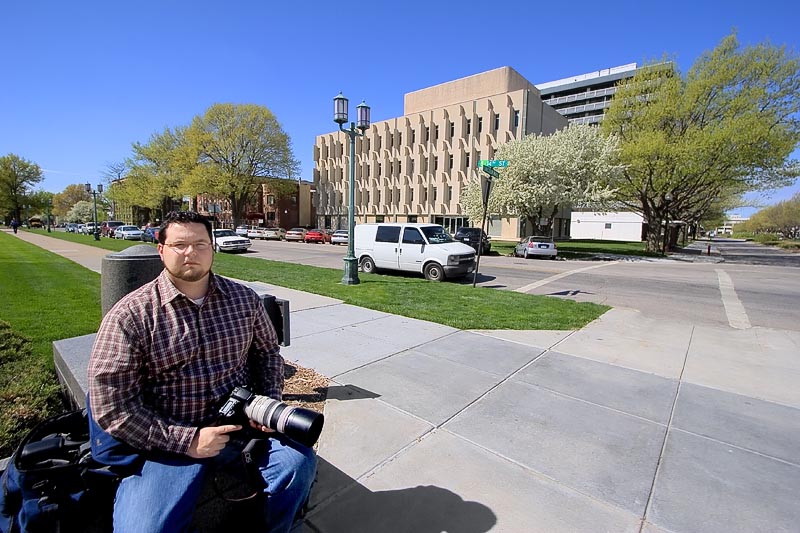
were merged into a 32bit file, then sampled down as described above. Final result was this:

As you can see, detail is preserved everywhere -- the sun is not blown out, the sky is blue, and the capitol is not a giant shadow (which it would normally be).
I found that it also works handheld with my wideangle lens. These three photos shot handheld-bracketed:
were used to create this:

One thing to note is that there is a sort of "unnatural" feeling to HDR produced images. At least, there is to me -- the reason being that the files are actually containing more exposure information than the human eye can resolve. That is, our brains can't process this exposure latitude when looking at this scene, so it seems strange to see this much latitude on the screen. That, and the brain processes exposure much differently (and much better) than Photoshop does! However, with a little post-processing, it will look normal again. Here's the photo above after a little tweaking:
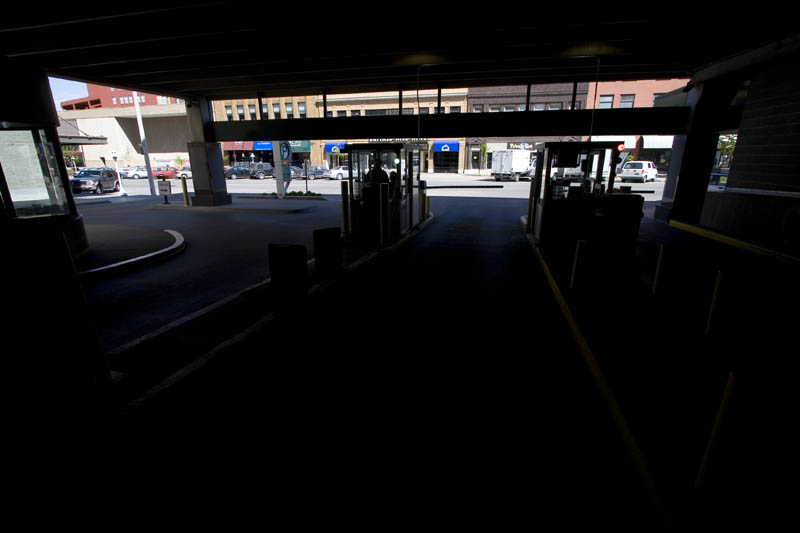
Here's one last shot. The interior, as you can see, is entirely in shadow when the exterior is properly exposed:

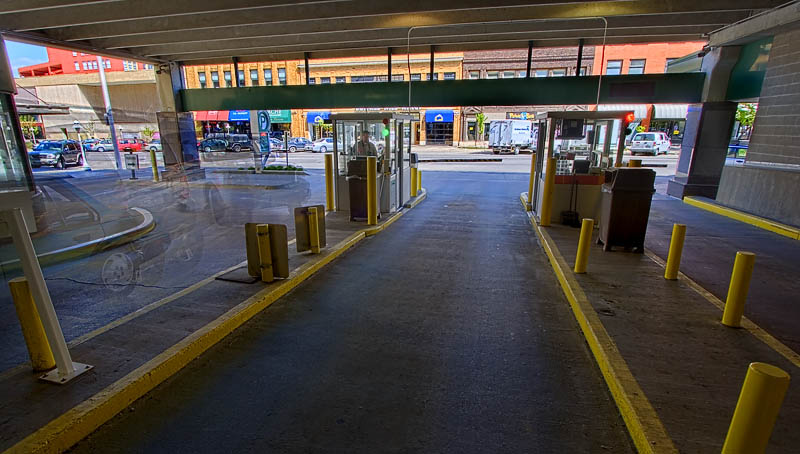
And when the HDR processing is done:

And after the tweaking to make it look a bit more like reality:

Quite cool, though I get the feeling I'm going to need to do a lot more learning with this. Likely all HDR images will require a significant amount of hand-toning to get contrast back in places where it is needed -- much of the contrast is lost when Photoshop is finished processing in HDR. Still, this is an incredible way to capture an enormous latitude of exposure information in one file, and offers a ridiculous amount of toning opportunities. Can't wait to play with it more! :) I'll leave you with two photos, one a straight-from-the-camera exposure exposed for the outdoors, and one that has been processed from around 10 shots that spanned the dynamic range. Pretty cool:
1 comment:
This rocks, i've got to try this myself, thanks for the tips!
Post a Comment